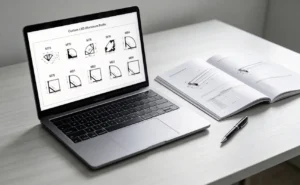
LED Aluminum Profile Applications
Explore lighting applications, compare profiles, and shortlist models for your project.
- Wall & Ceiling Lighting
- Stair & Step Lighting
- Recessed Floor Lighting
- Kitchen & Cabinet Lighting
- Office Linear Lighting
- Retail Shelves & Displays
- Curved Features
- Installation & Model Selection
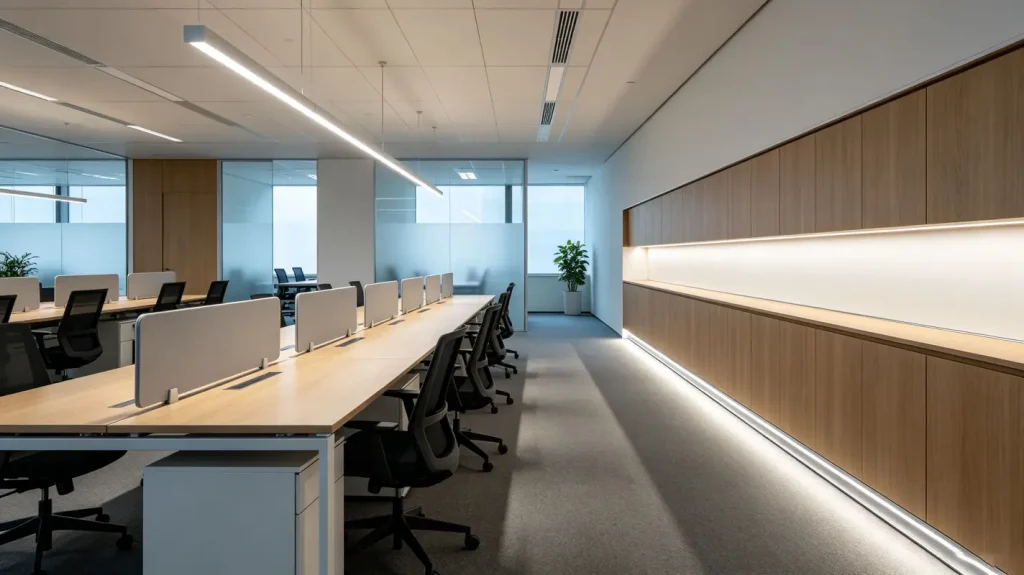
LED Aluminum Profiles for Wall & Ceiling Lighting
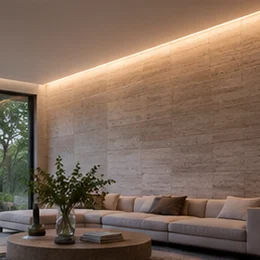
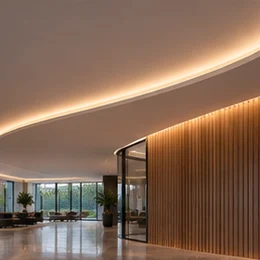
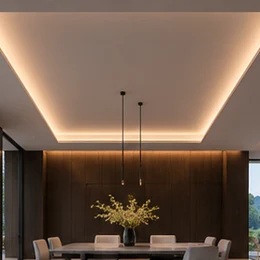
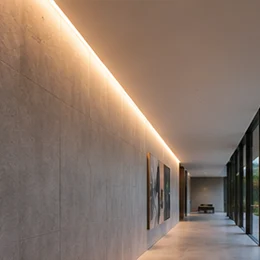
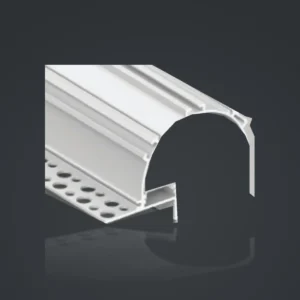
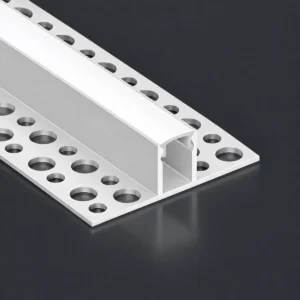
Choose a cove profile for indirect lighting or a plaster-in channel for a trimless line in drywall.
Which LED Aluminum Profiles Fit Your Project?
LED Aluminum Profiles for Stair & Step Lighting
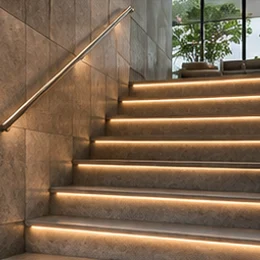
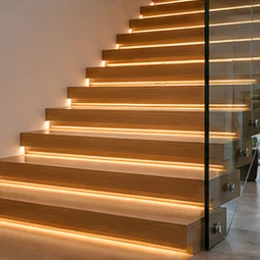
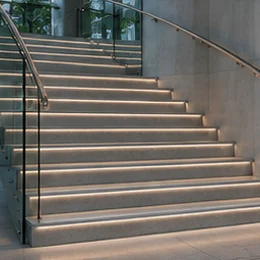
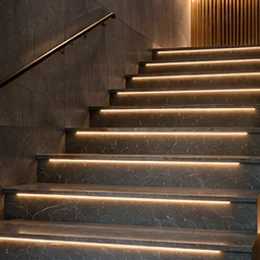
Choose a profile for the step edge or riser and check the mounting detail and light direction against your stair section.
Which LED Aluminum Profiles Fit Your Project?
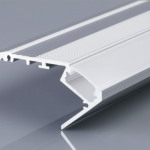
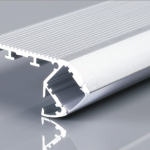
LED Aluminum Profiles for Recessed Floor Lighting
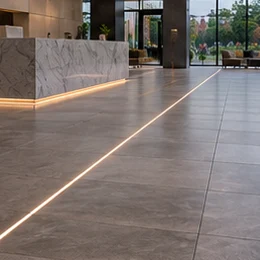
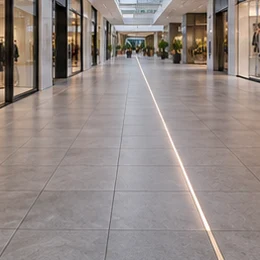
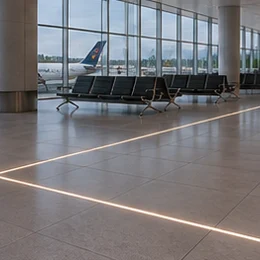
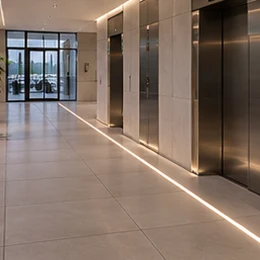
Compare these recessed profiles with your floor section. Share the expected foot traffic, finished floor depth and mounting detail so we can confirm suitability for your project.
Which LED Aluminum Profiles Fit Your Project?


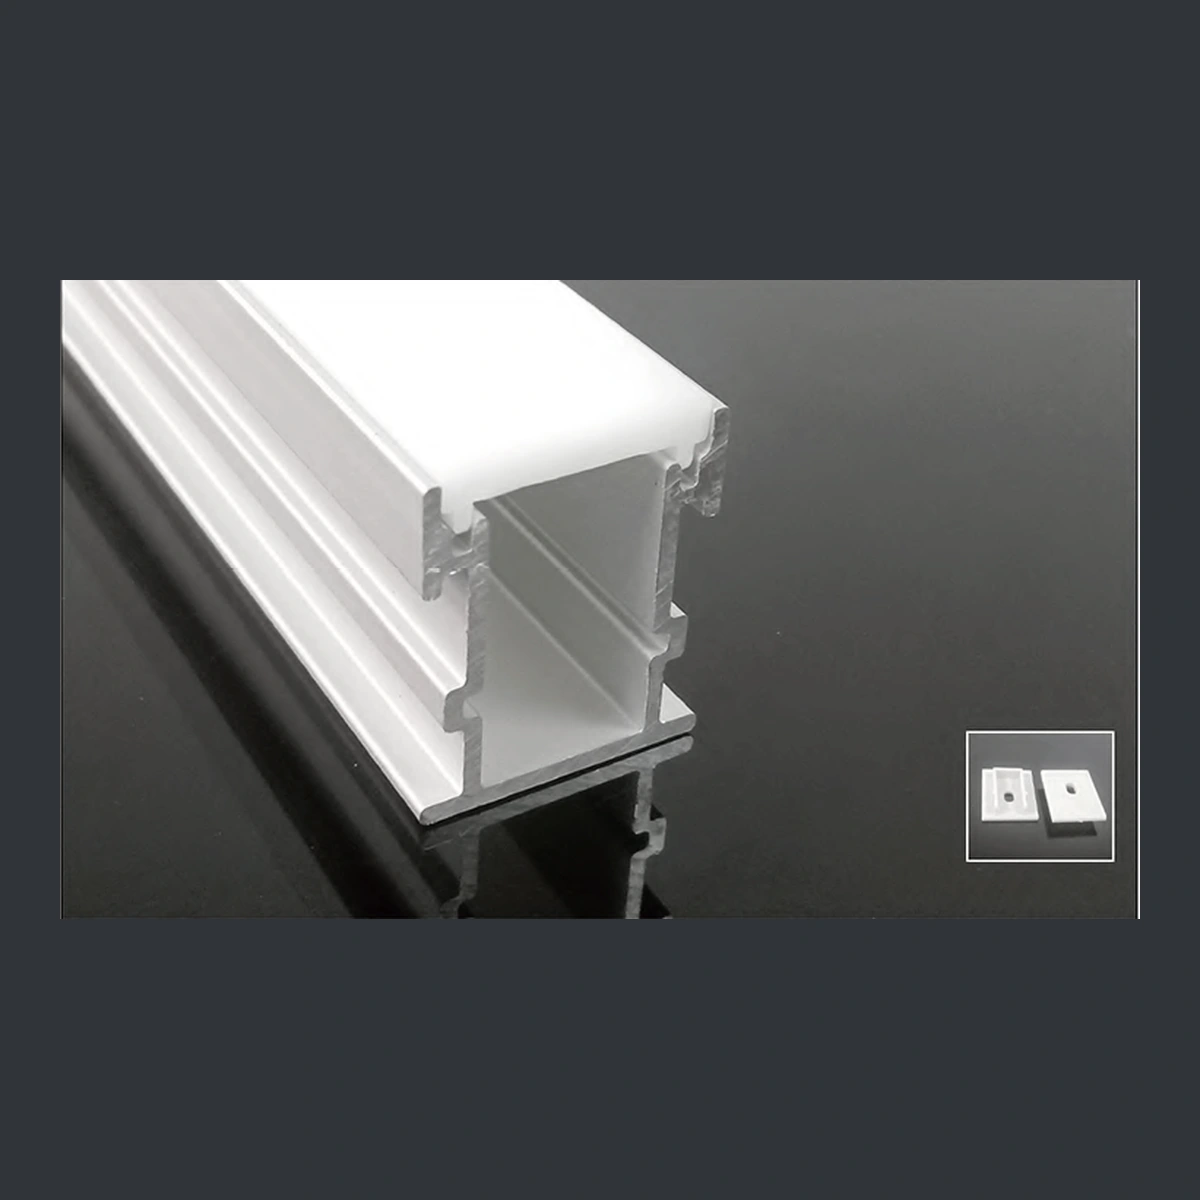

LED Aluminum Profiles for Kitchen & Cabinet Lighting
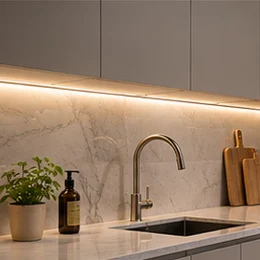
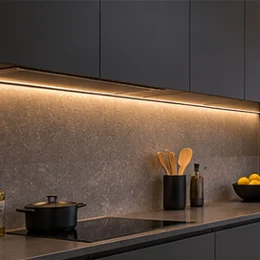
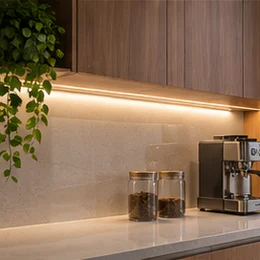
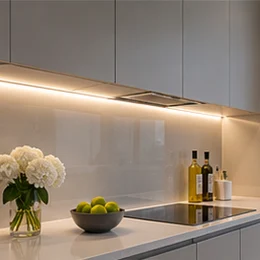
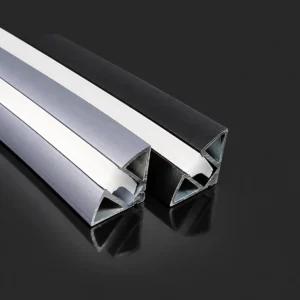
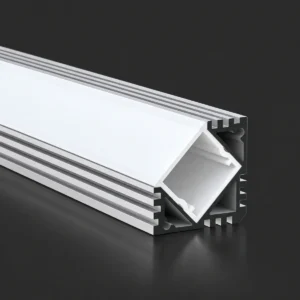
Use angled corner channels to direct light across a worktop. For a flush finish, route the panel to suit a recessed channel.
Which LED Aluminum Profiles Fit Your Project?
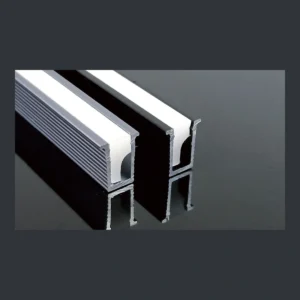
LED Aluminum Profiles for Office Linear Lighting
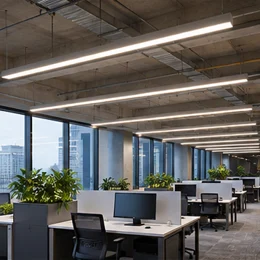
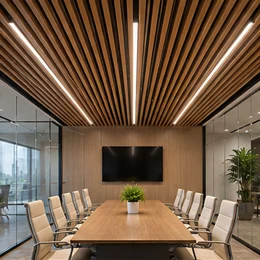
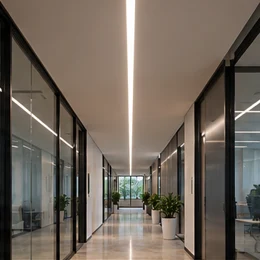
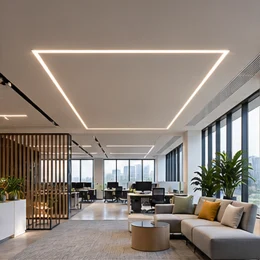
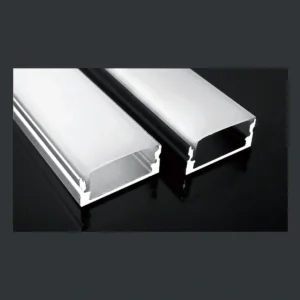
Compare surface-mount channels for finished ceilings with recessed channels for planned openings. Check diffuser appearance at normal viewing angles.
Which LED Aluminum Profiles Fit Your Project?
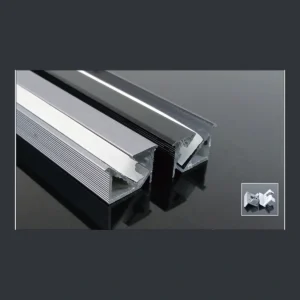
LED Aluminum Profiles for Retail Shelves & Displays
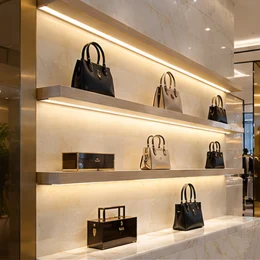
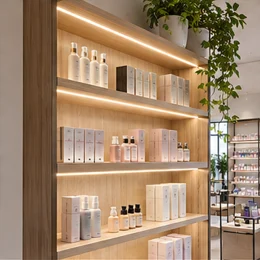
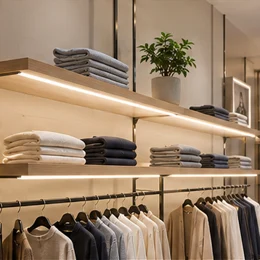
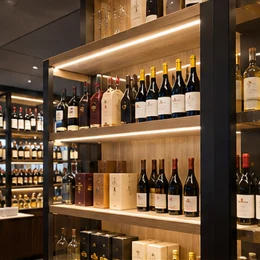
Place the light toward the merchandise and check glare from the customer’s viewing angle.
Which LED Aluminum Profiles Fit Your Project?
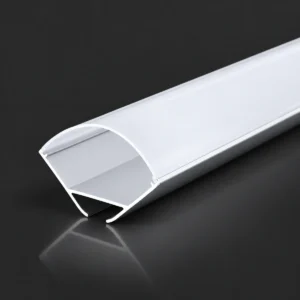
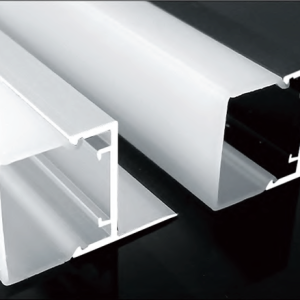
LED Aluminum Profiles for Curved Features
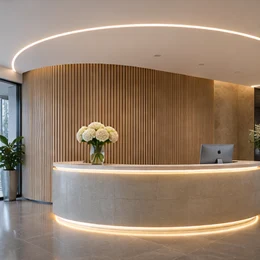
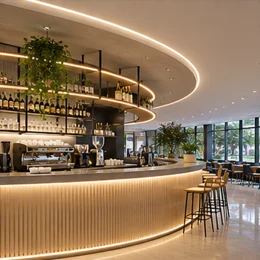
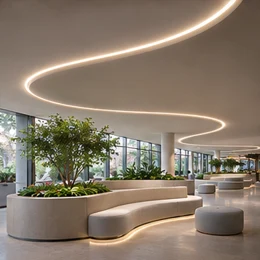
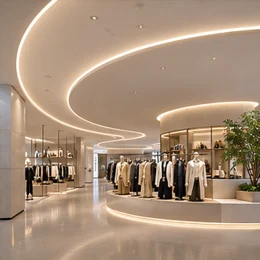
For curved counters and ceiling features, check the bend direction and tightest radius before choosing a profile and diffuser.
Which LED Aluminum Profiles Fit Your Project?
Start With the Installation Drawing
Mark the mounting surface and the direction you want the light to travel. Then use the checks below to narrow down the models shown above before requesting a sample.
For stairs and floors, mark where people will step
Compare XT-31 and XT-355 when reviewing the stair detail. On the section drawing, mark the nosing, the riser and where the diffuser will sit. For a recessed floor detail, shortlist SDXT-555, SDXT-554, XT-201, XT-210 or XT-301 and send the finished floor depth, substrate and expected traffic. Ask us to confirm suitability for that installation before ordering.
For cabinets, measure the connector as well as the strip
Compare TP006 and LSH153 when the light needs to aim across a worktop. Consider GD-004 when the profile needs to sit in a routed opening. Measure the opening and the widest part of the LED strip assembly separately. A clip-on connector or a soldered lead can require more space than the strip itself. Check usable channel width and cable clearance.
For walls and ceilings, decide whether to show the diffuser
Compare LSH-035 for an indirect cove and LSH-1013DD for a plaster-in detail. On the drawing, show the finished ceiling or wall plane and the intended light direction. If you are building a mock-up, use the proposed finish and strip so you can evaluate the visible line and the way light falls on nearby surfaces.
For curved lighting, send the tightest bend on the drawing
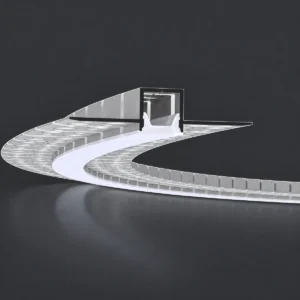
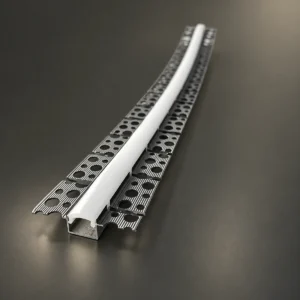
Compare LSH-1311DWA and LSH-1513SS after marking the bend direction and smallest radius. The channel, strip and diffuser must follow the same path. Send a plan or elevation that shows where the run changes direction. Explore custom profile and curved lighting options.
Request a Catalogue, Sample or Quote
Send your shortlisted models or a marked-up section drawing. Include strip and connector widths, cut lengths, quantity per length, finish and diffuser preference. For stair or floor installations, include the mounting detail and expected traffic. For curved runs, include bend direction and minimum radius.