Home Products Gypsum Plaster LED Aluminum Profiles

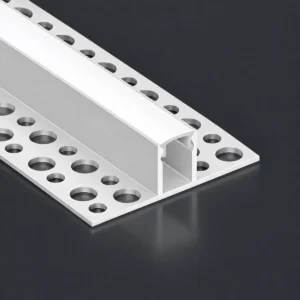
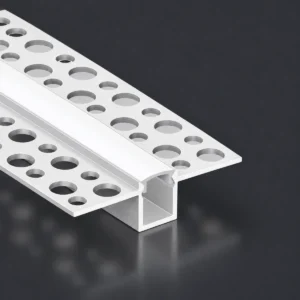
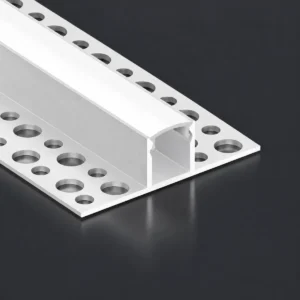
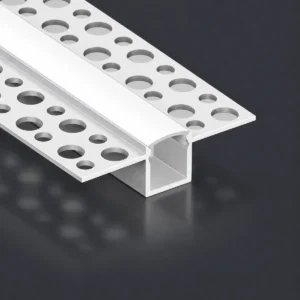
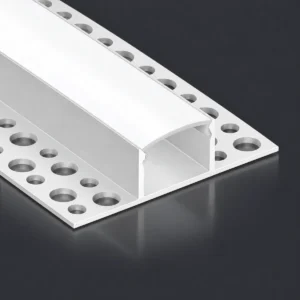
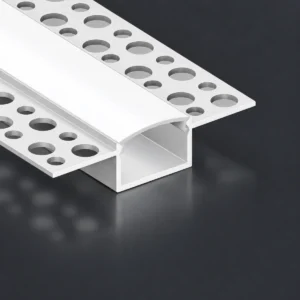
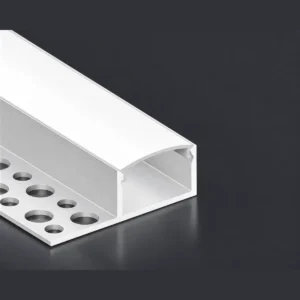
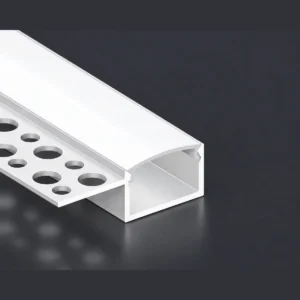
Gypsum Plaster LED Aluminum Profiles for Trimless Lighting

31 Catalog Profiles | Double-Wing, Single-Wing and Shaped Sections | Custom Manufacturing Support

Browse All Gypsum Plaster LED Aluminum Profiles

What Is a Gypsum Plaster LED Aluminum Profile?

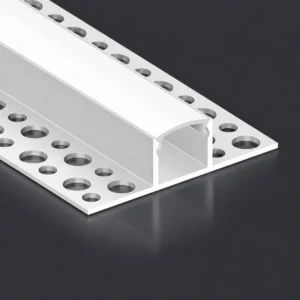
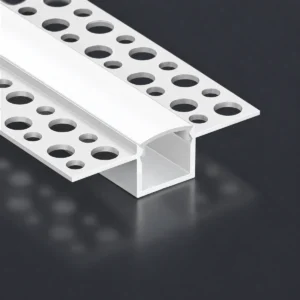
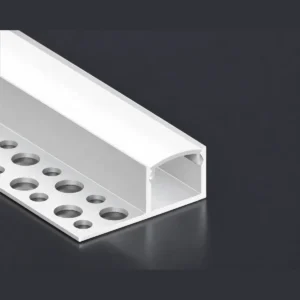
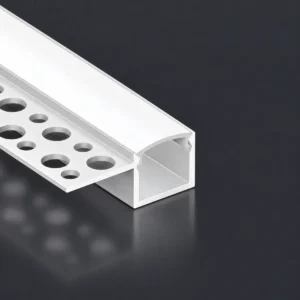
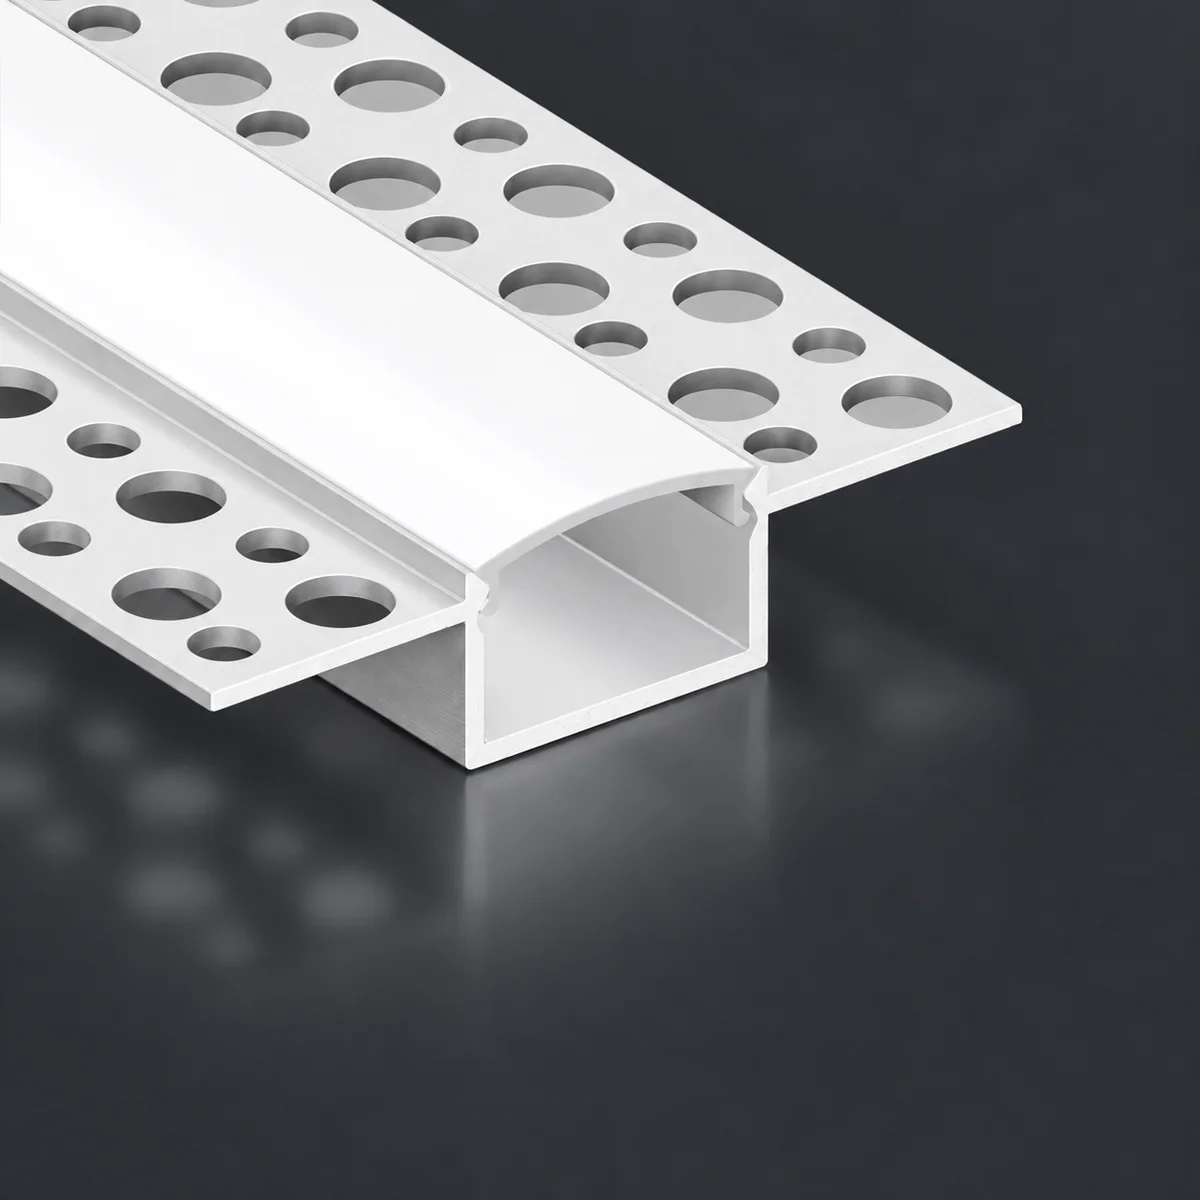
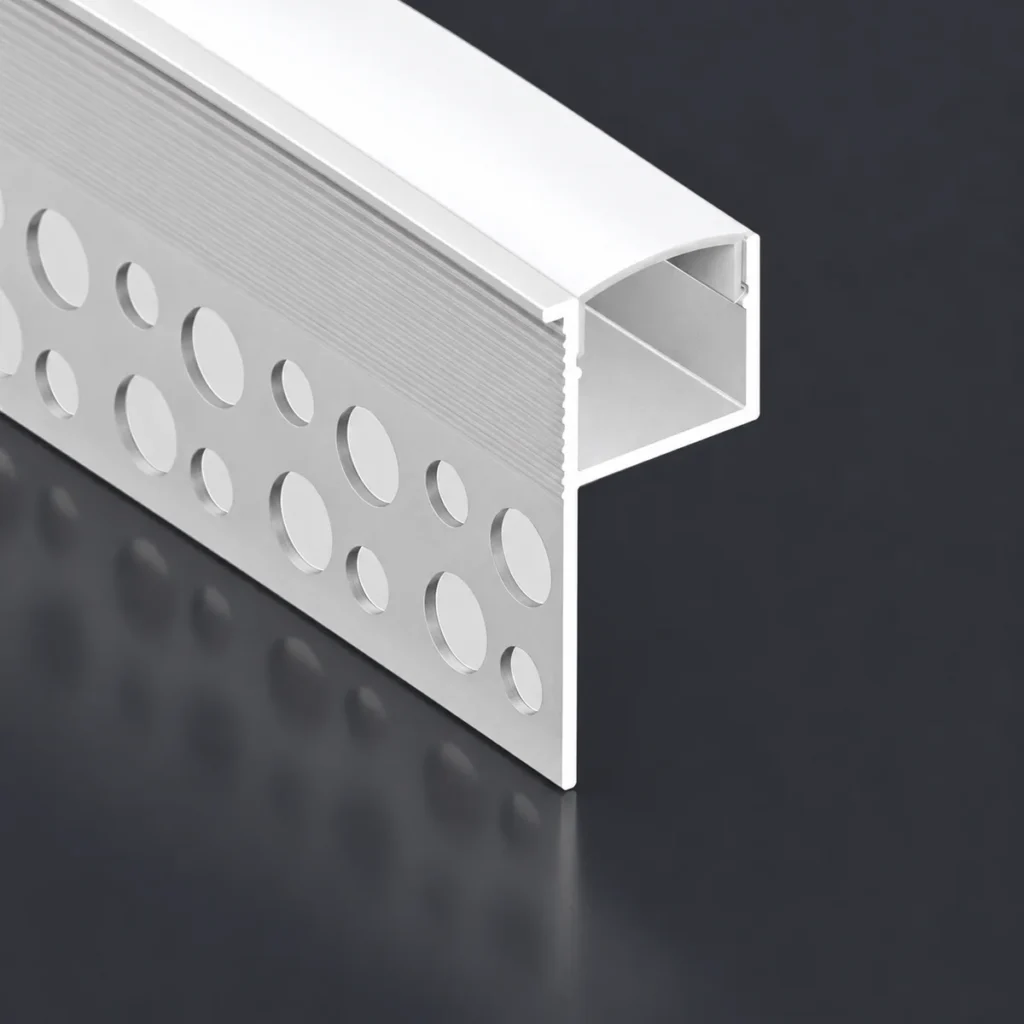
A gypsum plaster LED aluminum profile is a channel designed to integrate LED strip lighting into a plasterboard ceiling or wall. Its fixing wings are covered during finishing, leaving the intended light opening visible. It is also called a plaster-in LED profile, drywall LED channel, mud-in channel or trimless LED profile.

Choose the housing using the board detail, visible opening, LED strip and diffuser. The profile is one part of a complete lighting assembly; the strip, driver, wiring and thermal performance must be specified separately. Coordinate the detail before the ceiling or wall is closed.

Choose an LED Aluminum Profile for Your Ceiling Installation Stage

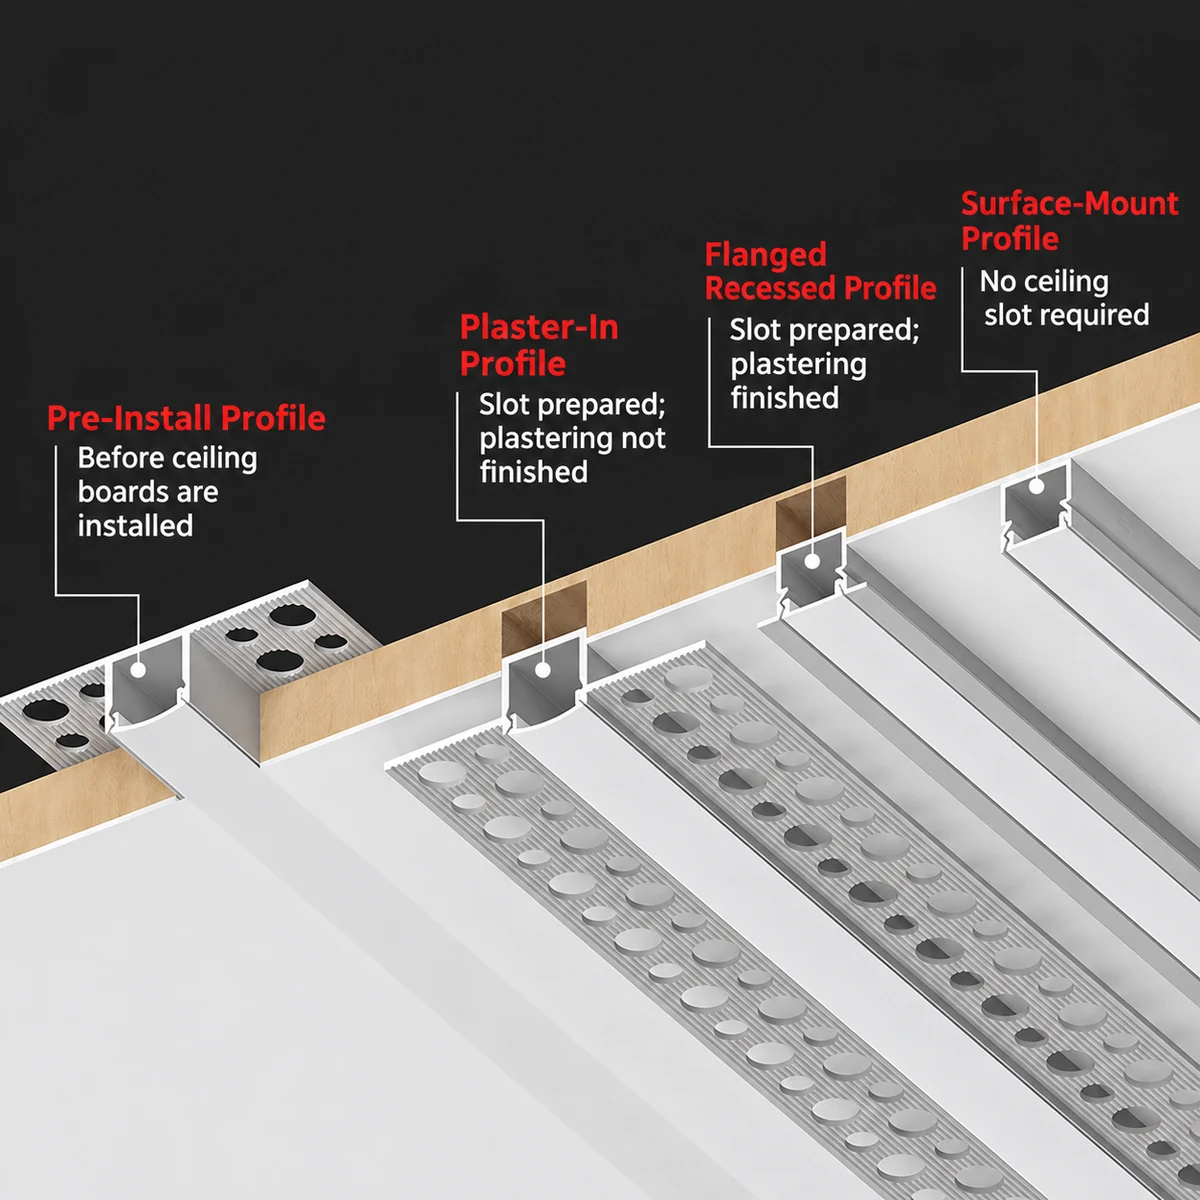
The right LED aluminum profile depends on how far your plasterboard ceiling installation has progressed. For trimless lighting, a gypsum plaster LED aluminum profile should be coordinated with the ceiling opening, board thickness and finishing work before the surface is completed. Use the four installation stages below to compare plaster-in, flanged recessed and surface-mount LED channel options.

  • Pre-install profile — before ceiling boards are installed: Fix the profile as part of the planned ceiling build-up before boarding. Confirm the fixing position and finished ceiling level with the installer.
  • Plaster-in profile — ceiling slot prepared, plastering not finished: Choose a drywall LED profile with suitable plastering wings. Embed the wings during finishing to create a trimless recessed light line.
  • Flanged recessed profile — ceiling slot prepared and plastering finished: A visible trim can cover the edges of the prepared opening. Match the profile body to the slot width and depth before ordering.
  • Surface-mount profile — no ceiling slot prepared: Install a suitable profile on the finished surface when recessed installation is not available. Confirm the fixing method, cable route and visible profile dimensions.

Planning a gypsum plaster LED channel installation? Send us your ceiling detail, construction stage, slot dimensions and LED strip width. We can help you compare suitable profiles and diffuser options before samples or bulk production. The illustration is an installation selection guide; confirm the exact cross-section drawing and mounting requirements for your chosen model.

Four LED aluminum profile installation options for plasterboard ceilings: pre-install before boarding, plaster-in before finishing, flanged recessed after plastering, and surface mount without a slot.

Explore Our Gypsum Plaster LED Aluminum Profile Collection

Double-Wing Plaster-In LED Profiles

Models: LSH-1013DU/DD, LSH-1313DU/DD, LSH-1513DU/DD, LSH-2013DU/DD and the 3013, 3020, 4013, 4020, 5013 and 5020 DU/DD families.

Double-wing sections provide fixing areas on both sides of the channel. Compare narrow accent lines with the wider 30, 40 and 50 mm face-label families. DU and DD are item identifiers; use the section drawing to establish the fixing level and installation orientation.

Single-Wing and Edge LED Profiles

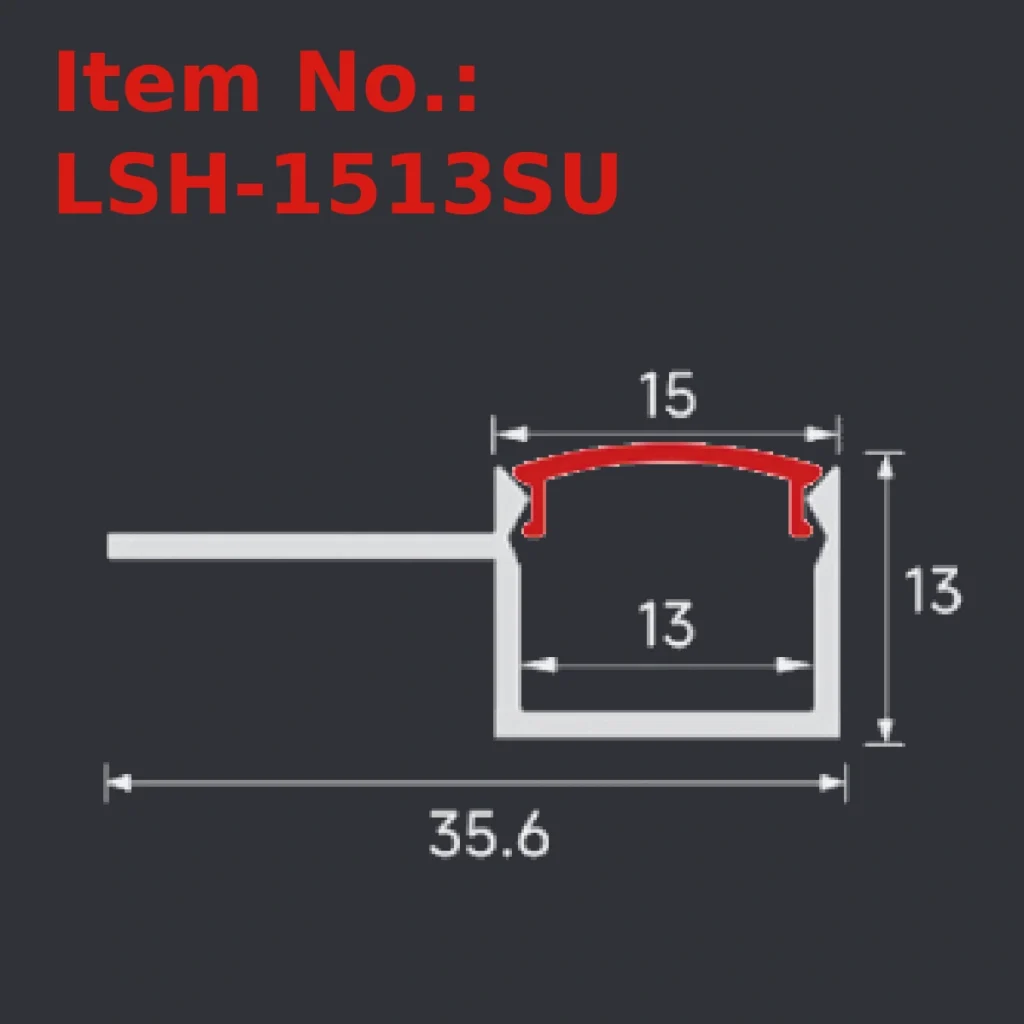
Models: LSH-1513SU, LSH-2013SU, LSH-1513SD, LSH-2013SD, LSH-704 and LSH-2418.

Single-wing profiles are candidates for one-sided board edges, perimeter details and reveals. Their wing position and channel geometry differ. Confirm support, finishing thickness and the visible opening against the approved installation detail before selecting a model.

Vertical-Wing and Shaped LED Profiles

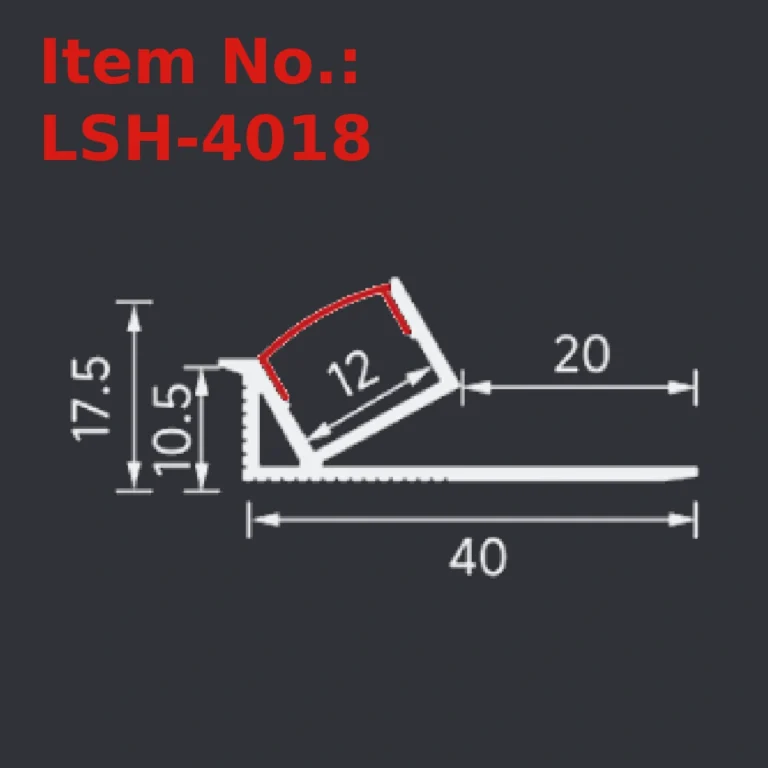
Models: LSH-4320, LSH-703, LSH-4018, LSH-3520 and LSH-601C.

Vertical-wing, angled and curved-face sections need a coordinated board-edge or reveal detail. Review the light direction and unlit appearance in a mock-up.

How to Choose the Right Gypsum Plaster LED Aluminum Profile

Follow these five checks before confirming a profile model.

1. Check the External Dimensions

Compare the body width, overall flange width, height and visible face separately. The flange width does not define the ceiling cutout. Check available depth and the supporting frame, then approve a drawing with the required opening and tolerances.

2. Compare Cross-Section Designs

Profiles with similar visible widths can have different fixing wings, channel depths and diffuser seats. Double-wing, single-wing, vertical-wing and angled sections require different board details. Choose using the real drawings rather than the model suffix alone.

3. Confirm Board Thickness and Fixing Level

Show the plasterboard thickness, support frame and finished surface on the installation sketch. Confirm whether the fixing area sits above, below or beside the board edge. A similar-looking cover does not make two housings interchangeable.

4. Check LED Strip Compatibility

Check the internal channel, LED strip PCB width, solder pads, connectors and assembly clearance. Catalog face labels do not guarantee compatible strip width. Test the strip and diffuser combination for light uniformity and operating temperature.

5. Review Installation Requirements

Agree rigid fixing, joint reinforcement and the specified plastering system before construction. Protect the channel and diffuser seat from compound and paint. Plan cable entry, removable covers and driver access before closing the ceiling or wall.

Technical Specifications and Catalog Dimensions

Item No.TypeOverall W × H, mmFace label, mm
LSH-1013DUDouble-wing plaster-in45 × 1310
LSH-1313DUDouble-wing plaster-in47 × 1312
LSH-1513DUDouble-wing plaster-in51 × 1315
LSH-2013DUDouble-wing plaster-in55 × 1320
LSH-1013DDDouble-wing plaster-in46 × 1310
LSH-1313DDDouble-wing plaster-in48 × 1312
LSH-1513DDDouble-wing plaster-in51 × 1315
LSH-2013DDDouble-wing plaster-in55 × 1320
LSH-1513SUSingle-wing plaster-in35.6 × 1315
LSH-2013SUSingle-wing plaster-in38 × 1320
LSH-1513SDSingle-wing plaster-in35.6 × 1315
LSH-2013SDSingle-wing plaster-in38 × 1320
LSH-704Single-wing plaster-in38.5 × 1420
LSH-4320Vertical-wing plaster-in 16.5× 3016.5
LSH-4018Angled plaster-in40 × 17.512
LSH-3520Angled plaster-in20.2 × 35.620.2
LSH-601CCurved-face plaster-in33 × 1612
LSH-703Vertical-wing plaster-in12 × 3312
LSH-2418Single-wing plaster-in40 × 18.612
LSH-3013DUDouble-wing plaster-in70 × 1330
LSH-3013DDDouble-wing plaster-in70 × 1330
LSH-3020DDDouble-wing plaster-in70 × 2030
LSH-3020DUDouble-wing plaster-in70 × 2030
LSH-4013DUDouble-wing plaster-in80 × 1340
LSH-4013DDDouble-wing plaster-in80 × 1340
LSH-4020DUDouble-wing plaster-in80 × 2040
LSH-4020DDDouble-wing plaster-in80 × 2040
LSH-5013DDDouble-wing plaster-in90 × 1350
LSH-5013DUDouble-wing plaster-in90 × 1350
LSH-5020DUDouble-wing plaster-in90 × 2050
LSH-5020DDDouble-wing plaster-in90 × 2050

Installation Options and Project Considerations

Check the Installation Opening

Establish the body width, wing width and board position on the approved detail. A narrow opening can prevent installation; an oversized opening can leave insufficient support. If a slot already exists, send measured dimensions and a section photograph for review.

Plan Fixing and Plastering Before Installation

Fix the profile to a suitable support and coordinate the board joint, reinforcement and finishing system. Perforations alone do not prevent every crack. Keep the diffuser engagement area clear of compound and paint, and inspect the detail before final finishing.

Check the Diffuser and LED Strip

Fit the intended cover and LED strip in a complete sample. Check engagement along the length, removal access and the lit appearance at the actual viewing distance. A white cover or wider channel does not by itself guarantee a dot-free line.

Allow for Wiring and Maintenance

Plan cable routes, connectors, end treatment, drivers and strip replacement before closing the construction. For long runs, assess voltage drop and the electrical layout. Keep the power supply accessible for inspection and maintenance.

Applications of Gypsum Plaster LED Aluminum Profiles

Engineering-focused guidance for lighting manufacturers, project contractors and wholesale buyers.

Trimless Ceiling Light Lines

Consider straight plaster-in channels for office ceilings, residential accents and architectural light lines. Coordinate the visible opening with ceiling joints, supporting frames and access panels. Confirm the complete lighting assembly in a sample.

Recessed Wall and Corridor Lighting

Use a coordinated recessed wall detail for corridor lines, vertical accents or reveals. Review fixing, touch access and light spill. Single-wing sections can be considered where only one plasterboard edge is available, subject to the actual construction.

Retail Stores and Commercial Interiors

Compare the unlit face, viewing angles and reflections on shelves, displays and adjacent finishes. Angled or shaped profiles can be assessed for directional accents. Confirm the result with a lighting mock-up before ordering long runs.

Offices, Reception Areas and Hospitality Projects

Trimless lines can complement reception desks, meeting rooms, hotels and hospitality interiors. These are proposed applications based on section geometry, not claims of completed installations. Check the model, board detail and lighting components for each project.

Custom Gypsum Plaster LED Aluminum Profiles for OEM Projects

Engineering-focused guidance for lighting manufacturers, project contractors and wholesale buyers.

Unionopto can review a standard section or a custom extrusion against your project requirements. Send the building detail and identify dimensions that cannot change. Feasibility, tooling, samples and order quantity need agreement before production.

Profile Dimensions and Structure

Provide the required body width, height, wing position, board thickness and visible opening. We can review whether an existing profile meets the detail or whether a modified section or new extrusion die is needed. Confirm the drawing revision before ordering.

Aluminum Surface Finish

Discuss anodized silver, black, white or a custom surface finish according to the selected item and order. Confirm the required appearance on a sample, including exposed edges and cover color. Do not assume all catalog items share one finish specification.

Compatible PC or Silicone Diffusers

Choose the diffuser using its fitting structure, appearance and the selected LED strip. Confirm material and availability for the specific model; PC and silicone covers are not automatically interchangeable. Test light output and removal access before approval.

Lengths, Accessories and Drawings

Send required lengths, quantities, cutting or machining details, accessories and packaging requirements. Compare quotations on the same supply scope, including covers, freight and tooling where applicable. Agree currency, validity, delivery and payment milestones in writing. 

Quality Checks Before Bulk Purchasing

Profile Dimensions and Cross-Section

Compare the sample with the approved drawing, including external dimensions, internal strip clearance, diffuser seat and wing position.Request material and thickness documentation where specified

Fixing Wings and Installation Fit

Test the selected housing with the actual board, support and finishing method. Inspect cut ends, straightness and the fixing area. Confirm that the cover remains removable after finishing and that compound cannot block the diffuser seat.

Diffuser Fit and Light Appearance

Check cover fit along the intended length and the final light appearance with the chosen strip. Record viewing distance, strip density and the diffuser used. Do not infer a wattage limit, IP rating or certification from a photograph.

Finish, Accessories and Packaging

Approve finish appearance, accessory quantities and long-length shipping protection. Retain the sample and drawing revision for bulk inspection. 

Frequently Asked Questions

A standard recessed channel can retain a visible trim. A plaster-in profile integrates its fixing area into the finished board surface. Check the section and finishing detail.

This collection contains 31 selected catalog profiles. 

No. The catalog may show overall flange width, face label or internal span. Approve a separate installation opening dimension.

Yes, all dimensions were confirmed well.

Check the internal channel, PCB, solder joints, connectors and clearance. Confirm the diffuser fitting structure, then test the complete strip and cover sample.

Send a CAD section, sample or sketch. Structural changes, tooling, finish, length and order quantity are reviewed for feasibility before approval.

Confirm the quotation scope for the aluminum housing, covers, strips, drivers, end caps and other accessories. The profile photograph alone does not establish what is supplied.

Request a Quote for Gypsum Plaster LED Aluminum Profiles

Sourcing gypsum plaster LED aluminum profiles for a lighting product, construction project or wholesale range? Share your requirements so we can review suitable sections. You do not need to finalize every technical detail before contacting us.

Send the model, board thickness, visible opening, available depth, strip width, lengths and quantity. Attach a CAD section, sketch or project layout. Specify the diffuser, housing finish, accessories, destination and delivery expectations for a comparable quotation.

Use the form to send your model and project detail. 

Final dimensions, tolerances, supply scope and commercial terms require written approval before production.

Send Your Project Requirements

Scroll to Top

Request A Quote

inquiry led aluminum profile