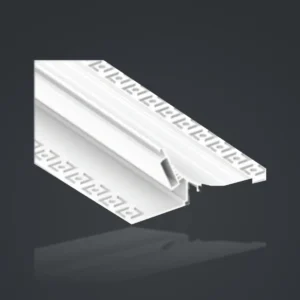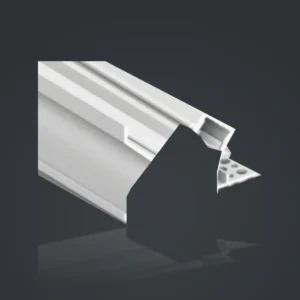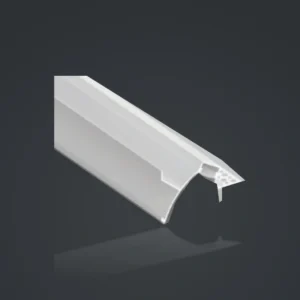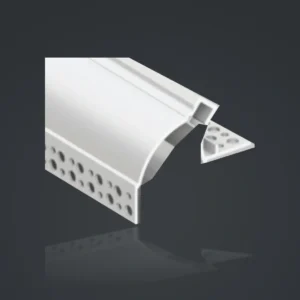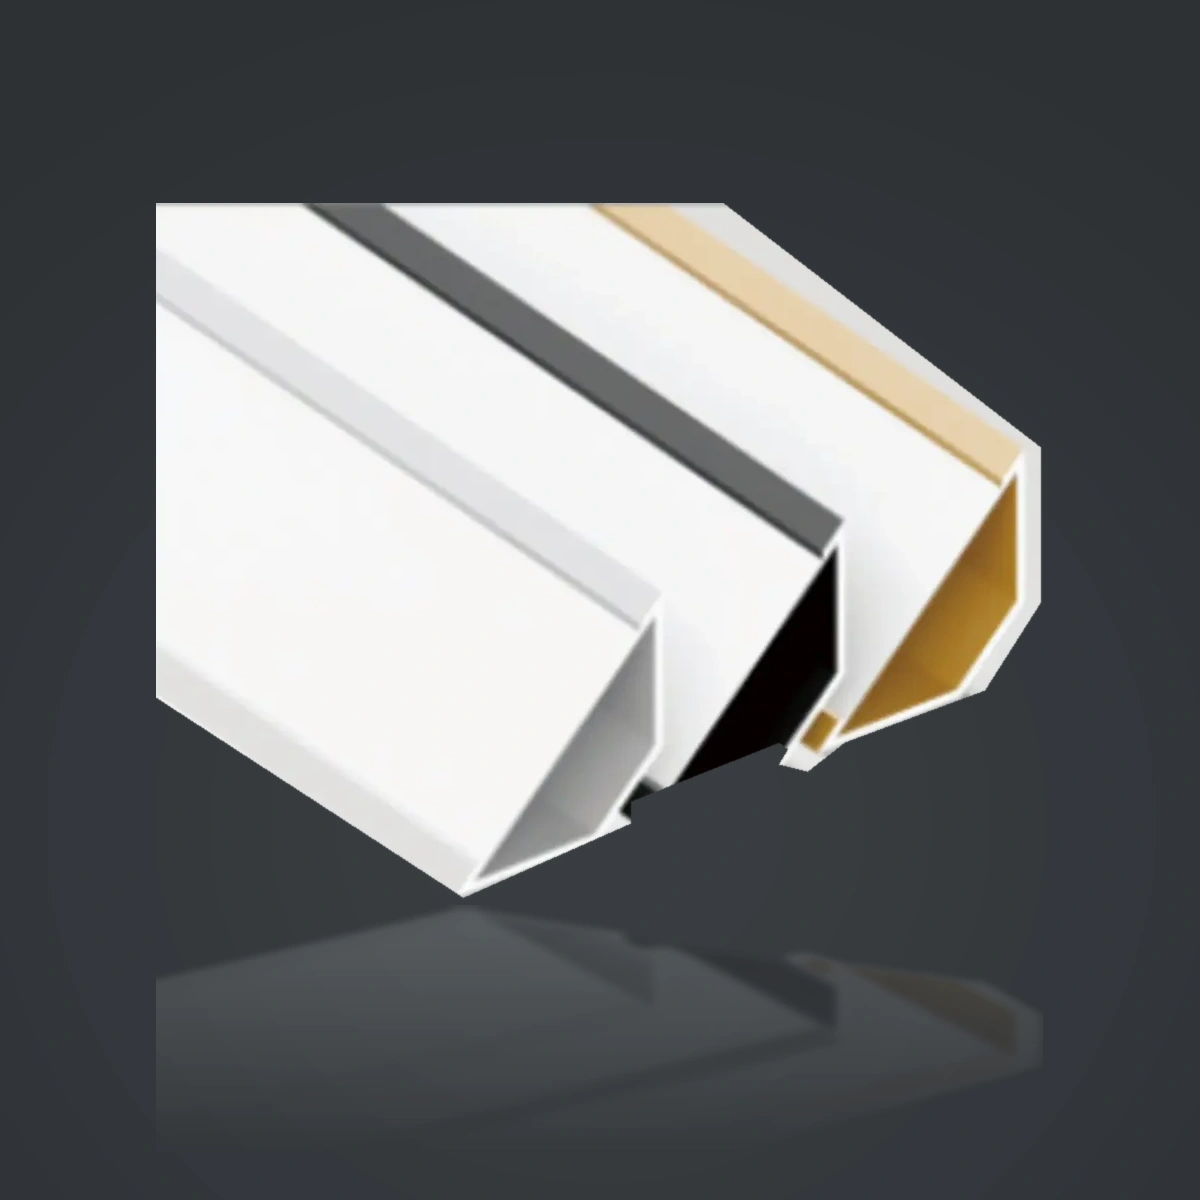
Ceiling & Wall LED Aluminum Profiles
UNIONOPTO / ARCHITECTURAL LIGHTING
Cove, Cornice & Plaster-in Profiles for Architectural Lighting Review each section drawing before selecting an installation.
Browse All Ceiling & Wall LED Aluminum Profiles
Showing 13–24 of 59 results
-
Ceiling & Wall LED Aluminum Profiles
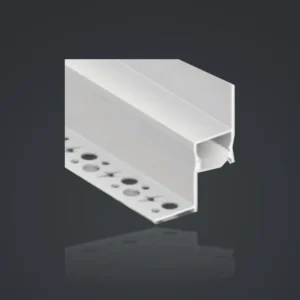
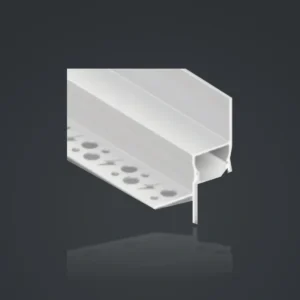
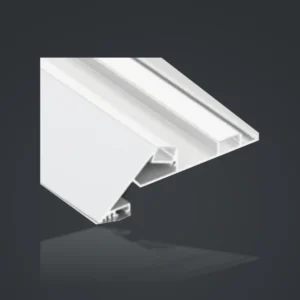
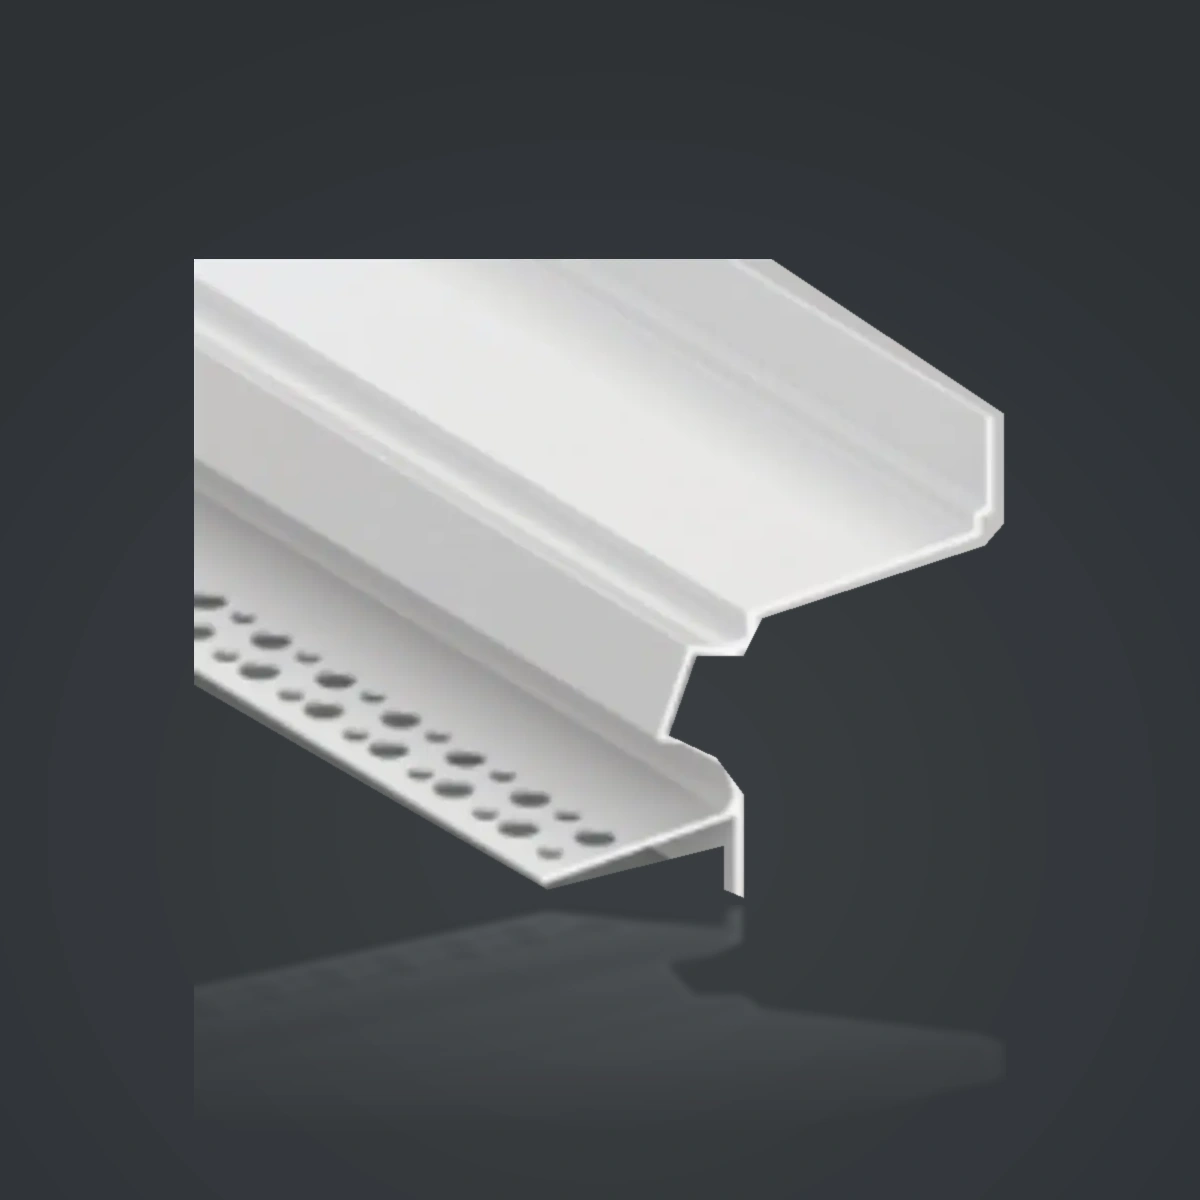
LSH-10030 Angled LED Cove Lighting Profile – Slim-Flange Version
Read more
Compare the available models and open each product page for its section drawing, applications and selection checks.
What Are Ceiling & Wall LED Aluminum Profiles?
Ceiling and wall LED aluminum profiles integrate compatible LED tape into architectural edges, coves, cornices and plaster-related details. The housing provides a mounting structure for the light source and a defined relationship with the diffuser and adjacent finish.
This collection contains 59 product listings: 51 LSH catalogue designs and versions, plus BG98 and seven XT models. Some sections have one light chamber, while others show two. Mounting flanges, shield shapes and cover interfaces vary, so selection should start with the individual section drawing. These are profile housings rather than complete specified luminaires.
Explore the Ceiling & Wall Profile Collection
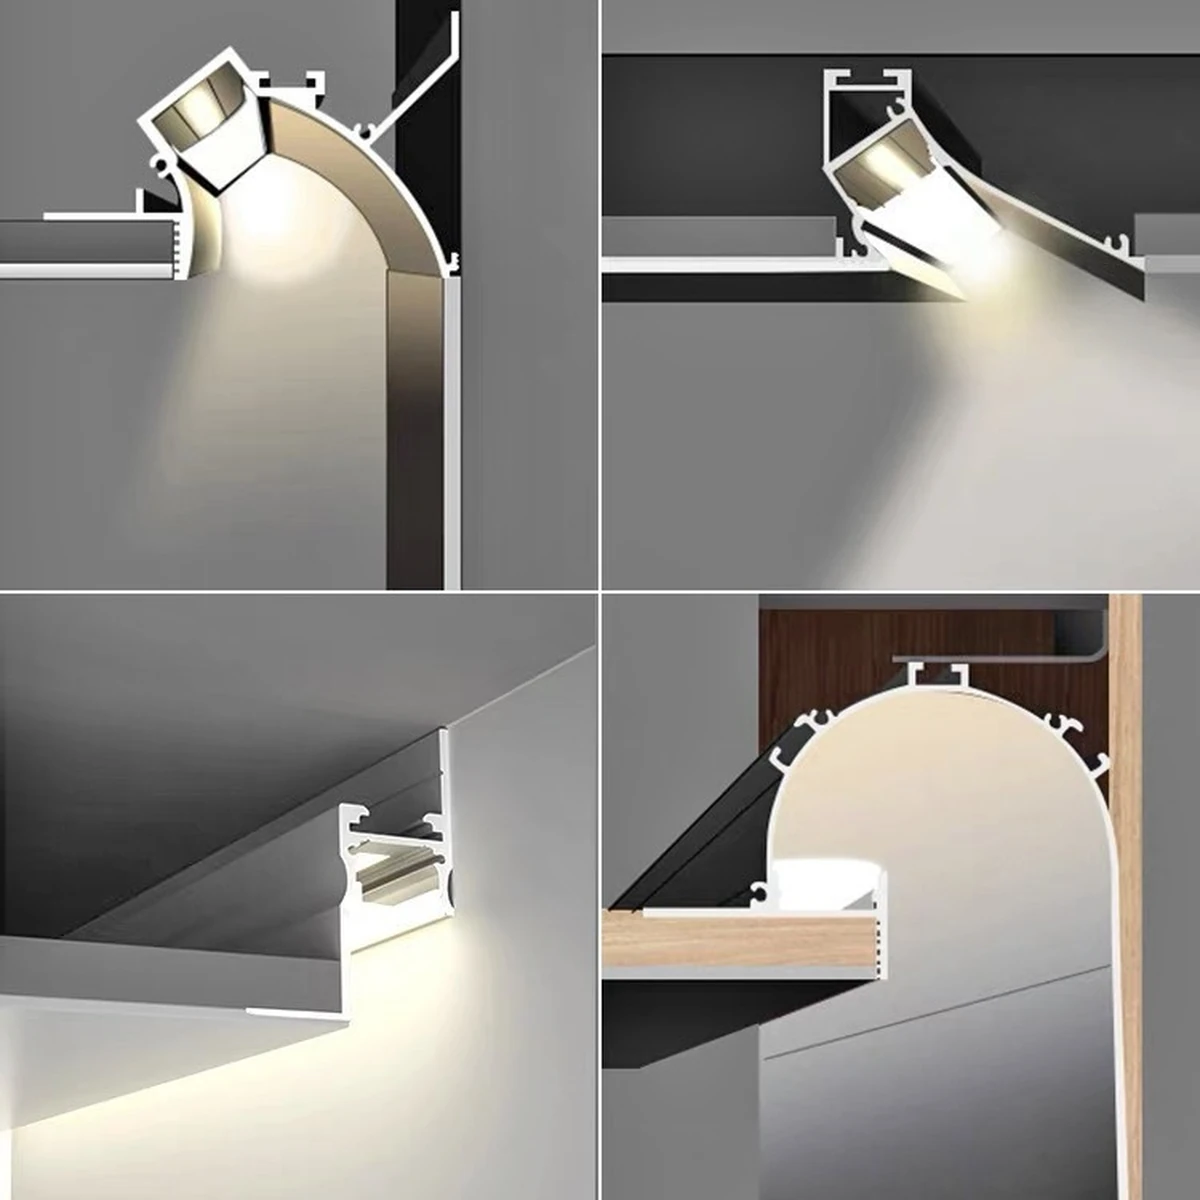
Ceiling Edge & Perimeter Profiles
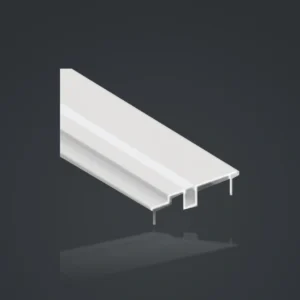
Compare mounting flange positions and the ceiling edge return. Models such as 078A, 078, 7021, 5020, 6014 and 3814 need their own drawing review.Cove Lighting Profiles
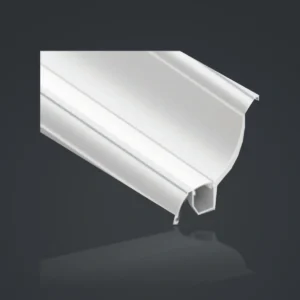
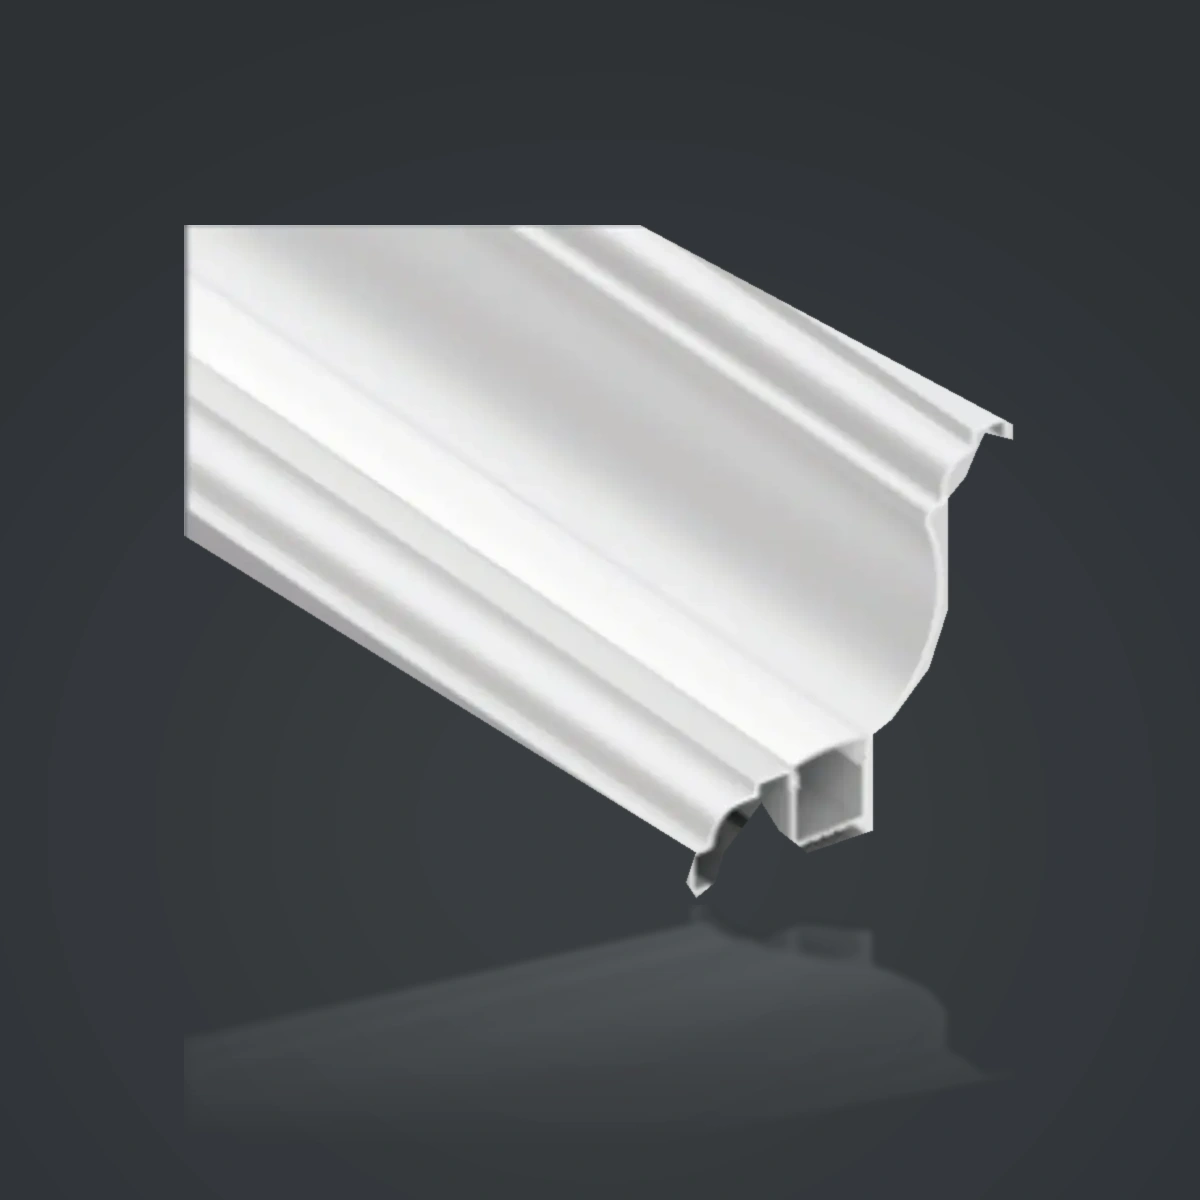
Shaped shields and angled chambers support different architectural arrangements. Compare 075B, 075, 076, 058, 035, 068, 069 and 066 by section and installation orientation.LED Cornice Profiles
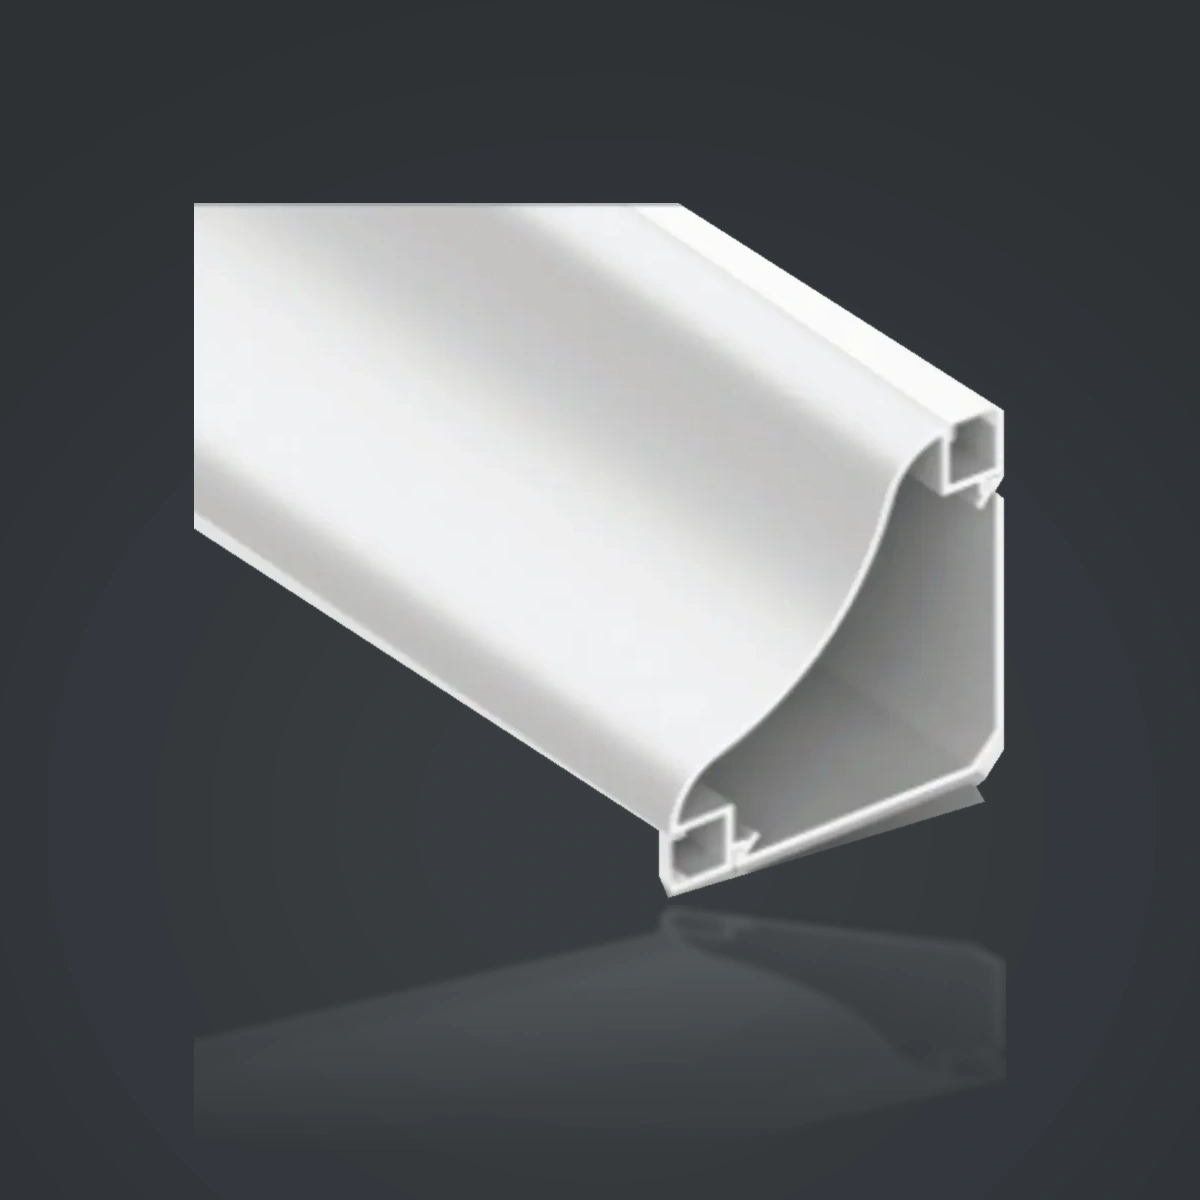
Curved or shaped cornices suit ceiling-wall junction details. Review the complete envelope, light bed and fixing method rather than the model digits.Dual-Channel Cornice Profiles
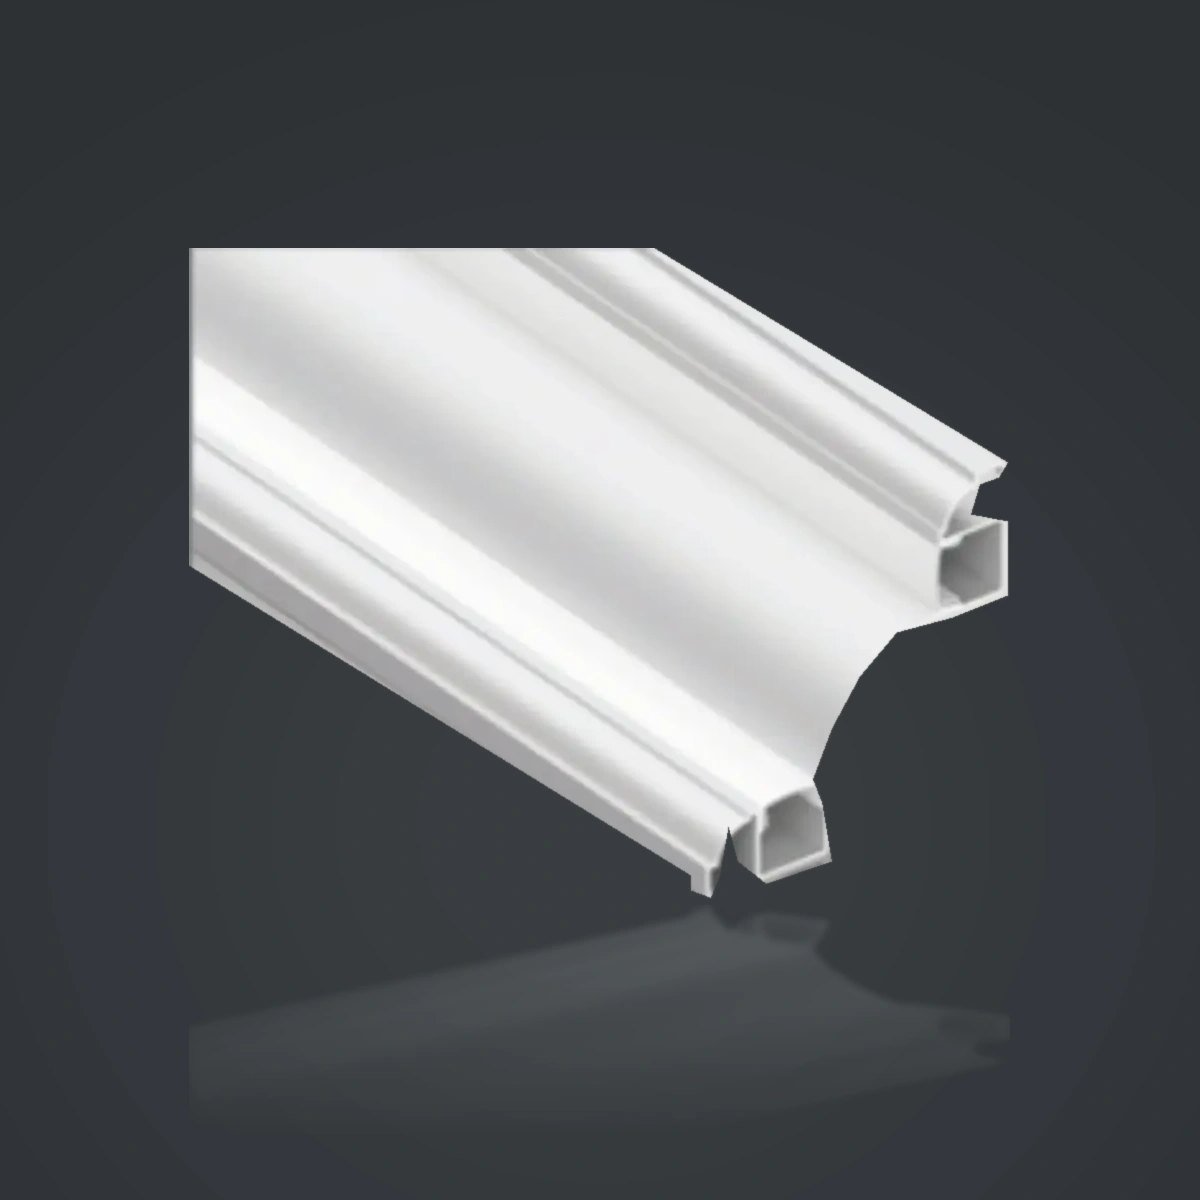
7070, 8080, 9090, 6969 and 9595 show two light chamber positions. Confirm both tape beds, cover interfaces, wiring and intended light directions.Stepped & Corner Profiles
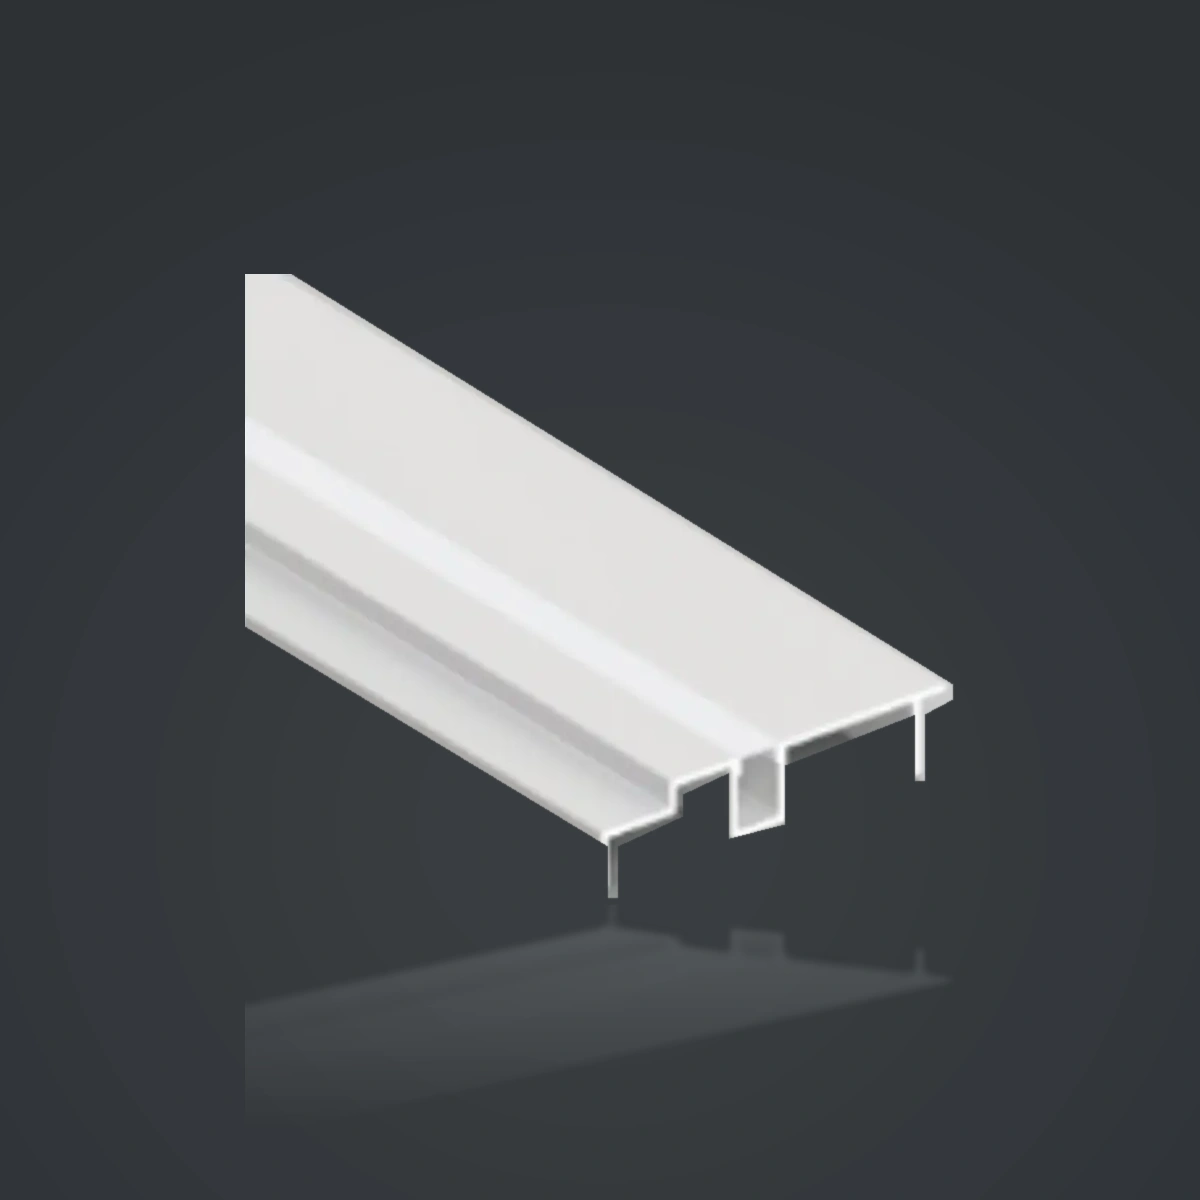
Compare 100/120/150/200 double-step profiles separately from 40/60/80/100 ceiling corner profiles. They share some numbers but represent different sections.Additional BG98 and XT Profiles
Eight further models expand this collection beyond the 51 LSH catalogue designs. Their existing product listings provide the following nominal sizes. Compare the complete section and fixing detail before choosing a model; these dimensions are not installation cut-outs.- BG98 — 100 × 50 mm: compare this section where the project allows a 100 mm nominal width and 50 mm depth.
- XT-480 — 80.5 × 48.5 mm: review its section against the available architectural opening and supporting surface.
- XT-485 — 92 × 35 mm: a listed 35 mm nominal height offers a shallower size option than the 48.5–67.5 mm models in this group.
- XT-486 — 95 × 38 mm: compare separately with XT-485; the listed width and height differ, so the models are not dimensional substitutes.
- XT-525 — 91 × 50 mm: review the 50 mm nominal depth together with cable routing and the intended fixing arrangement.
- XT-544 — 108 × 43 mm: this is the widest listed section in this additional group; check the full envelope against the building detail.
- XT-565 — 85.6 × 57 mm: allow for its listed 57 mm nominal depth when comparing the surrounding construction.
- XT-566 — 70 × 67.5 mm: this is the narrowest and deepest listed section in this group; check both dimensions rather than selecting by width alone.
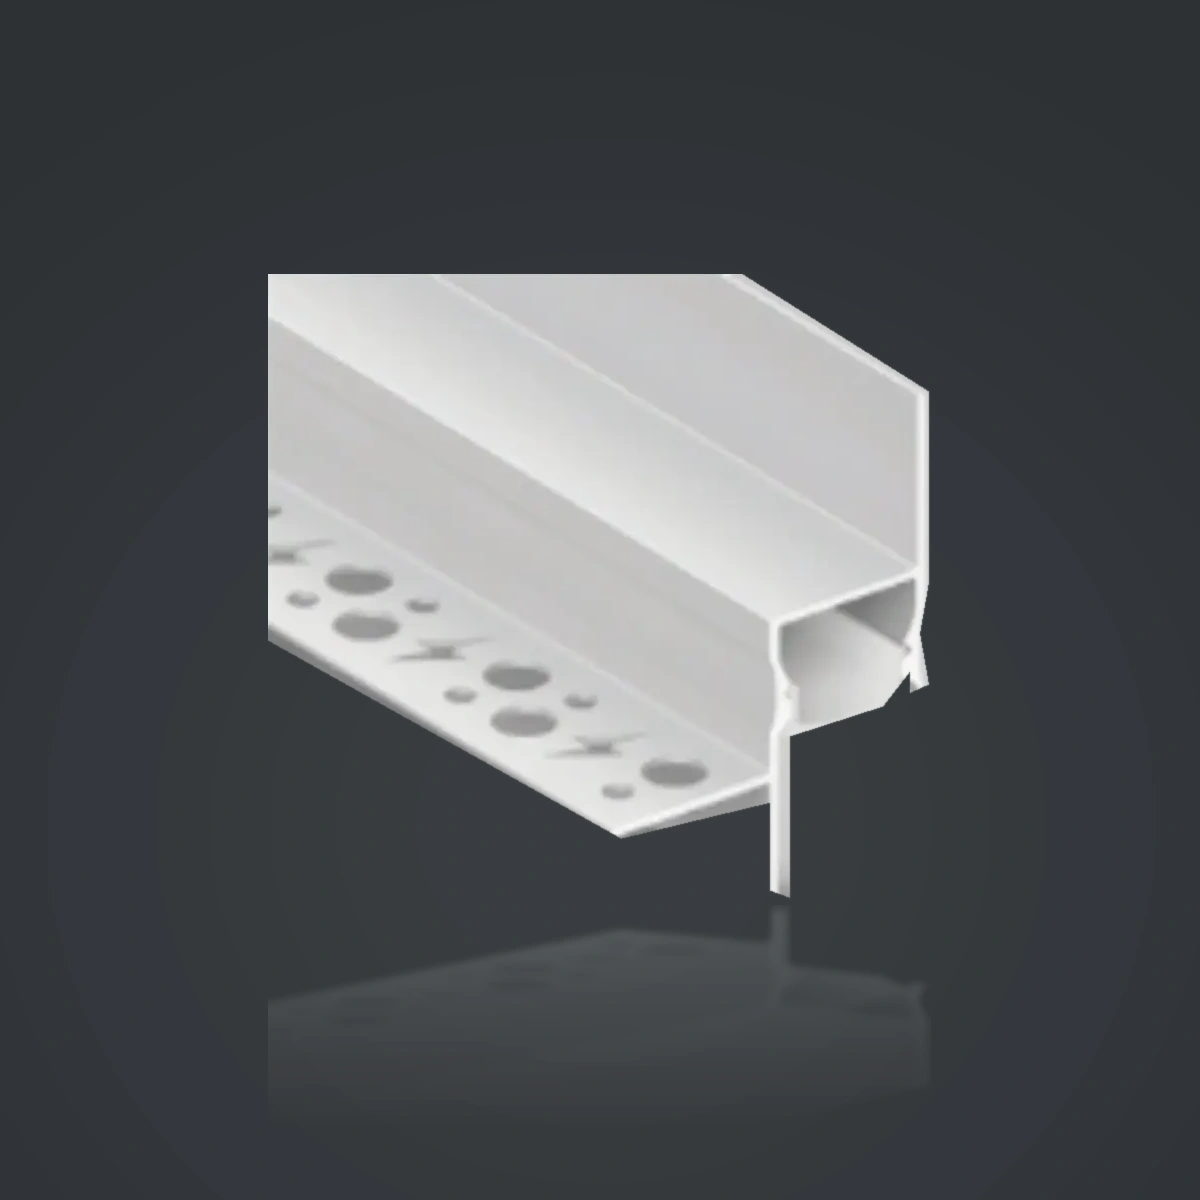
Ceiling Edge
LSH-078A Ceiling Edge LED Aluminum Profile
Cove Lighting
LSH-7962 LED Cove Lighting Aluminum Profile
Cornice Profiles
LSH-6565 LED Cornice Aluminum Profile
Dual-channel
LSH-7070 Dual-Channel LED Cornice Aluminum Profile
Double-step
LSH-100 Double-Step Ceiling LED Aluminum Profile
Ceiling Corner
LSH-40 Ceiling Corner LED Aluminum Profile
How to Choose the Right Ceiling & Wall LED Profile
1. Define the Architectural Detail
Define the architectural detail: direct line, concealed cove, cornice, corner or stepped edge.
2. Confirm the Mounting Surface
Confirm the support, board thickness, mounting plane and final surface before choosing a flange arrangement.
3. Check LED Strip Compatibility
Compare the usable tape bed, cover fitting and room for wiring. Overall width is not tape width.
4. Test an Illuminated Sample
Build an illuminated sample to check source visibility, light uniformity and the effect of adjacent surfaces.
5. Plan Wiring and Maintenance
Plan run lengths, joints, corners, driver access and replacement of the tape and cover.
Installation Options and Project Pitfalls
1. Confirm the Profile Version
Do not switch upper-flange and lower-flange versions because the light chamber looks similar. Agree on the construction sequence.
2. Use the Approved Drawing
Do not establish the ceiling cut-out from a product photograph. Use an approved section and tolerance allowance.
3. Keep Service Interfaces Clear
Do not cover the diffuser locking edge, wiring exit or service opening with finish material.
4. Review the Fixing Detail
Check the chosen surface preparation and fixing detail with the contractor. Do not assume a perforated flange alone prevents cracking.
5. Inspect the Finished Surface
Inspect the wall and ceiling under the intended lighting. Grazing light may expose waviness and surface defects.
6. Build an Installation Sample
Complete an installation sample before repeating a detail across a large project.
Applications of Ceiling & Wall LED Aluminum Profiles
Residential ceiling perimeters
Coordinate the light chamber and shielding edge with seating and bed positions. Review the lighting effect with the intended ceiling finish.
Hotels and hospitality interiors
Cornice and cove details can provide architectural accent lighting. Check service access and consistent appearance across repeated room details.
Offices and reception areas
Use individual sections to coordinate ceiling transitions, straight runs and junctions around columns. Final illumination requires a complete lighting design.
Retail stores and showrooms
Review source visibility, the finish around display areas and how corners and connections are concealed.
Send a CAD section, ceiling detail, required lengths and quantities, LED tape dimensions and finish reference. Unionopto can review whether a catalogue section is suitable or whether a modified section or new extrusion die should be discussed.
Quality Checks Before Bulk Purchasing
1. Approve the Drawing
Approve the drawing and exact version before placing an order.
2. Check Dimensions and Fit
Check dimensions, straightness, wall thickness and diffuser fit using the same agreed method for samples and production.
3. Inspect the Finish
Inspect visible finishes and reject unexplained colour or texture differences.
4. Test the Complete Assembly
Test the tape, cover and profile assembly for fit, heat and lighting appearance under project conditions.
5. Confirm Accessories and Packaging
Confirm model labels, lengths, included accessories and transport protection.
Frequently Asked Questions
Cove describes the recessed or shielded lighting arrangement. Cornice describes an architectural trim at a ceiling-wall junction. A product may serve both descriptions when its geometry and installation support that use.
No. Confirm the usable tape bed and allow for the PCB, adhesive, solder, connectors and cover clearance.
Do not assume one mounting method for the entire collection. Confirm the flange position, support and finishing process for the selected section.
Two chamber positions are shown on certain sections. Confirm the actual mounting orientation and intended light directions before specifying up-and-down performance.
The diffuser is included. LED strips are sold separately
Send your requirements for a feasibility and tooling review. Availability, cost, minimum quantity and lead time require confirmation.
Provide the complete model and version, drawing, lengths, quantities, finish, cover, tape configuration, accessories, destination and required delivery schedule.
Compare quotations on the same bill of materials. Profile weight, lengths, finish, covers, accessories, machining, sample preparation and packaging can change the supply cost. Delivery method and destination also affect the landed cost.
Request an itemized quotation showing currency, Incoterms, tooling and sample fees, production lead time, taxes where applicable, shipping scope and payment stages.
Use the project detail to shortlist compact ceiling-edge sections, curved cove shields, decorative cornices, dual-channel sections or stepped trims. These are useful comparison groups; no sales ranking or best-seller claim is made without order data.
For dual-channel models, compare both chamber positions. For the 068 family, keep the small, medium and two large versions distinct. For stepped and corner sections that share model numbers, use the complete product name in enquiries.
Request a Quote for Ceiling & Wall LED Aluminum Profiles
Send your selected model and version, installation section, LED tape dimensions, required lengths and quantities. Add finish, cover and accessory requirements, the destination and a drawing or project sketch if available.